Is it only me or everyone think that adding social media buttons to your blog actually makes the blogger look much more cute. It is very easy to make the social media buttons. In this tutorial, I will share with guys how I add social media buttons to my blog. This is how I did and actually this is the easiest way of adding these buttons to your blog.
If you guys wondering what am I talking about, social buttons is actually use for people to subscribe to your social media networks that you have. This actually will allow your blog readers to stay connect with you. This buttons actually looks like this :-


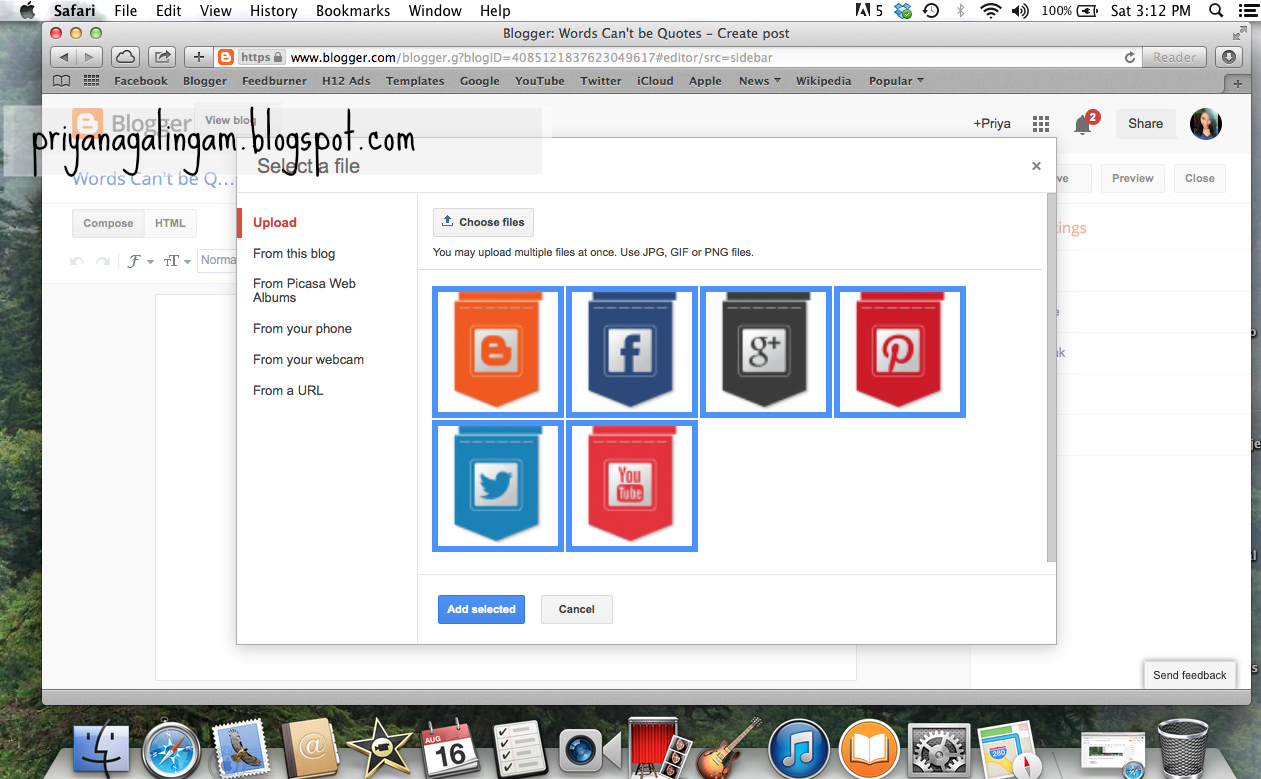
2. After save your social media icons to your computer; open Blogger > go to New Post > Then upload the social media icons to that new post

3. Now click on each picture and add the link .

4. Go to your social media site (Facebook, twitter and etc) and copy your web address of your site.


5. Paste the web address of your social site to the selected picture.

6. Now after you complete the rest of icons, applying its link, you need to click the HTML button just right beside the compose button aligned along the same row where the publish button is situated.
You will get to see all in html codes now. COPY THE CODES !!

7. Now go to layout section


Thanks for reading. :)
If you guys wondering what am I talking about, social buttons is actually use for people to subscribe to your social media networks that you have. This actually will allow your blog readers to stay connect with you. This buttons actually looks like this :-
So, no further talking let's get into the tutorial:
1. Download social media buttons available in the internet. Go to google > Search "Social Media Icons download" > Click on any page that offers you to download social media icons > save it to your computer.
I recommend you to check these website for download social media icons.
2. After save your social media icons to your computer; open Blogger > go to New Post > Then upload the social media icons to that new post
3. Now click on each picture and add the link .
4. Go to your social media site (Facebook, twitter and etc) and copy your web address of your site.
5. Paste the web address of your social site to the selected picture.
6. Now after you complete the rest of icons, applying its link, you need to click the HTML button just right beside the compose button aligned along the same row where the publish button is situated.
You will get to see all in html codes now. COPY THE CODES !!
7. Now go to layout section
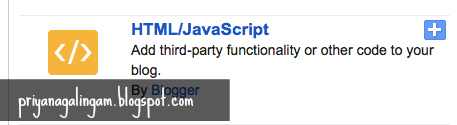
8. Add Gadget (HTML / Javascript)
9. Paste the code. Then, click on the rich text to arrange the order for your social media icons. This is how it will publish.
10. Taadaa !!! That's how you add your social media buttons to your blog.
Thanks for reading. :)


No comments